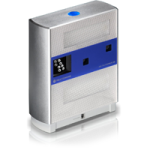
 This scanner is much more professional than the David Scanner. The price is around € 3000 and the acquisition process is automatic with regard to each individual face. The software provided by the manufacturer allows to reconstruct the object automatically through the rotation of a platform below it, but for the purposes of the course I preferred to individually scan every single mesh for process them later in MeshLab. Furthermore, NextEngine allows to choose various options for the acquisition, such as: the accuracy, speed or even to choose the type of surface. The laser of this unit increases power depending on how the object is more or less dark. The elaboration process is then similar in all respects to that of David Scan, except for the superior quality of meshes.
Step 1 – Scanner preparation
There are not many words to do with regard to the preparation of the scanner: simply connect the NextEngine through a USB port and install the bundled software: ScanStudio Core. Through an interface, you can select various options to capture and description of the object, then simply press the “Scan” to start.
Step 2 – Acquisition
The acquisition phase is almost completely automatic. It ‘simply place the object on the plate of the scanner and start scanning. Once over a single face, manually rotating the object until it covers the entire visible surface. For some parts it was necessary to use some helper objects that take the model in the right location to view certain areas.
…and a small video example of a typical acquisition phase of the object:
Step 3 – Mesh elaboration
Once the acquisition of the mesh was necessary to put them together and reconstruct the surface in order to have a compact and navigable. This processing was done with MeshLab, and below are listed the various stages of processing and is divided into several sub-steps, for clarity.
3.1 Cleaning meshes
As a first step it was necessary to clean each individual mesh. In fact, David Scanner, being a very cheap solution, produces many artifacts that are likely to be amplified in the later stages of processing. It ‘important to be very careful not to delete faces or vertices of importance for the reconstruction of the surface, so it is a work of great care and patience. MeshLab offers the following filters and tools that have been used in this phase of processing. Selection: vertex, face in a rectangular region, connected components in a region; Delete: selected faces, selected faces and vertices, selected vertices.
3.2 Surface recostruction
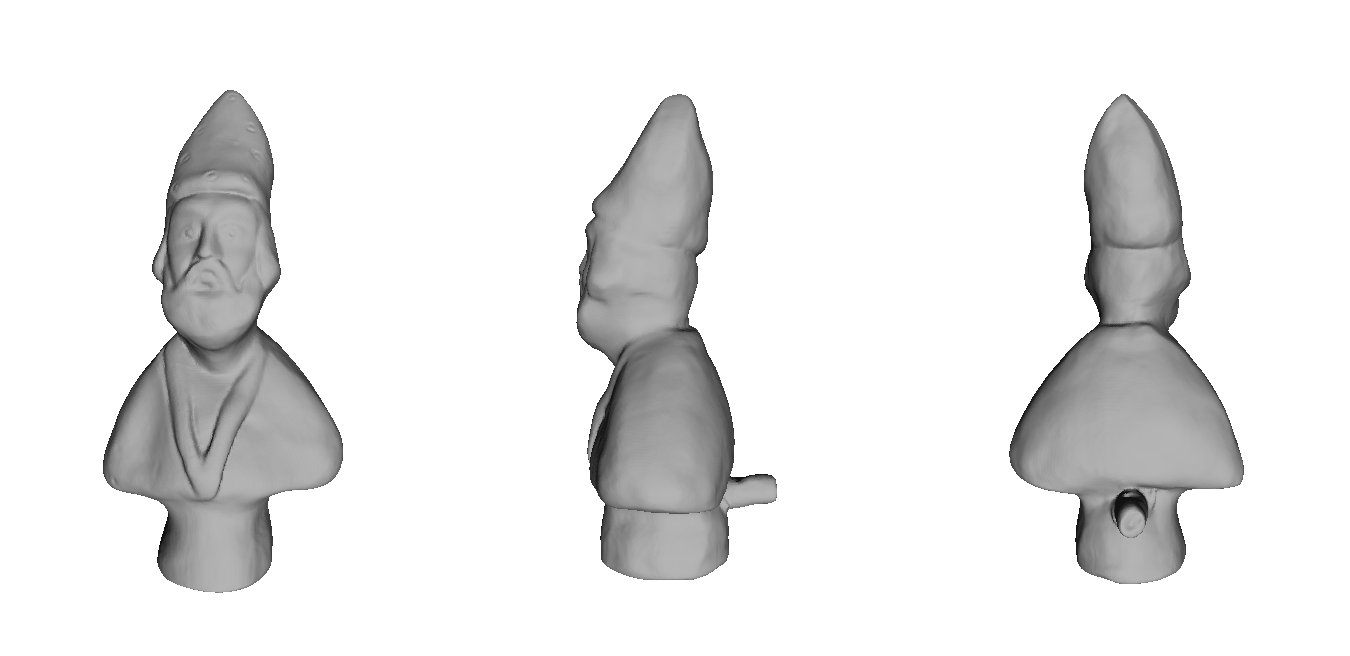
After cleaning the mesh, are passed to the operations of surface reconstruction. The first thing to do is to align every mesh with the others. To do this, there is the tool: “Align tool” of MeshLab, with it you can glue one or more meshes with another mesh. With “Point Based Glueing” you can offer a first rough alignment indicating at least 4 matching pair of points on the meshes. After this you can process and an algorithm tries to align the surfaces in a better way. It should repeat this process until all the meshes acquired will not have sufficiently covered the surface of the object. In this case, the operations were very quick in drawing given the low quality of the meshes. The final model consists of the union of 10 meshes; there are 523,515 vertices and 1,025,237 faces.
Once all the meshes have been aligned, it is necessary to reconstruct the surface. First it was necessary to bring together all the meshes into a single entity, the command was “Flatten Layers visible” and created a single resulting mesh, the number of faces and vertices is the same as the sum of the total project.
We can then go to the reconstruction of the surface, I decided to use Poisson. The algorithm of this filter uses points and normal to reconstruct the surface, and was chosen because it is able to reconstruct the model even in areas where there are no faces or vertices. Despite being an automatic process, the resulting surface is very faithful to the original while losing a lot of detail. After some testing of settings, the final result was achieved by setting the Octree Depth to 11. The processing is 116,522 msec duration, about 1 minute and 56 seconds. After that we got a model with a closed area of 469,823 vertices and 939,642 faces.
Step 4 – Enjoy it!
Now the model is ready to be used: go to the viewer >>
Or download ply object: ![]() download model (*.ply)
download model (*.ply)